DIY Personalized Bridal Jacket
December 7, 2020
Words by
Photos courtesy of
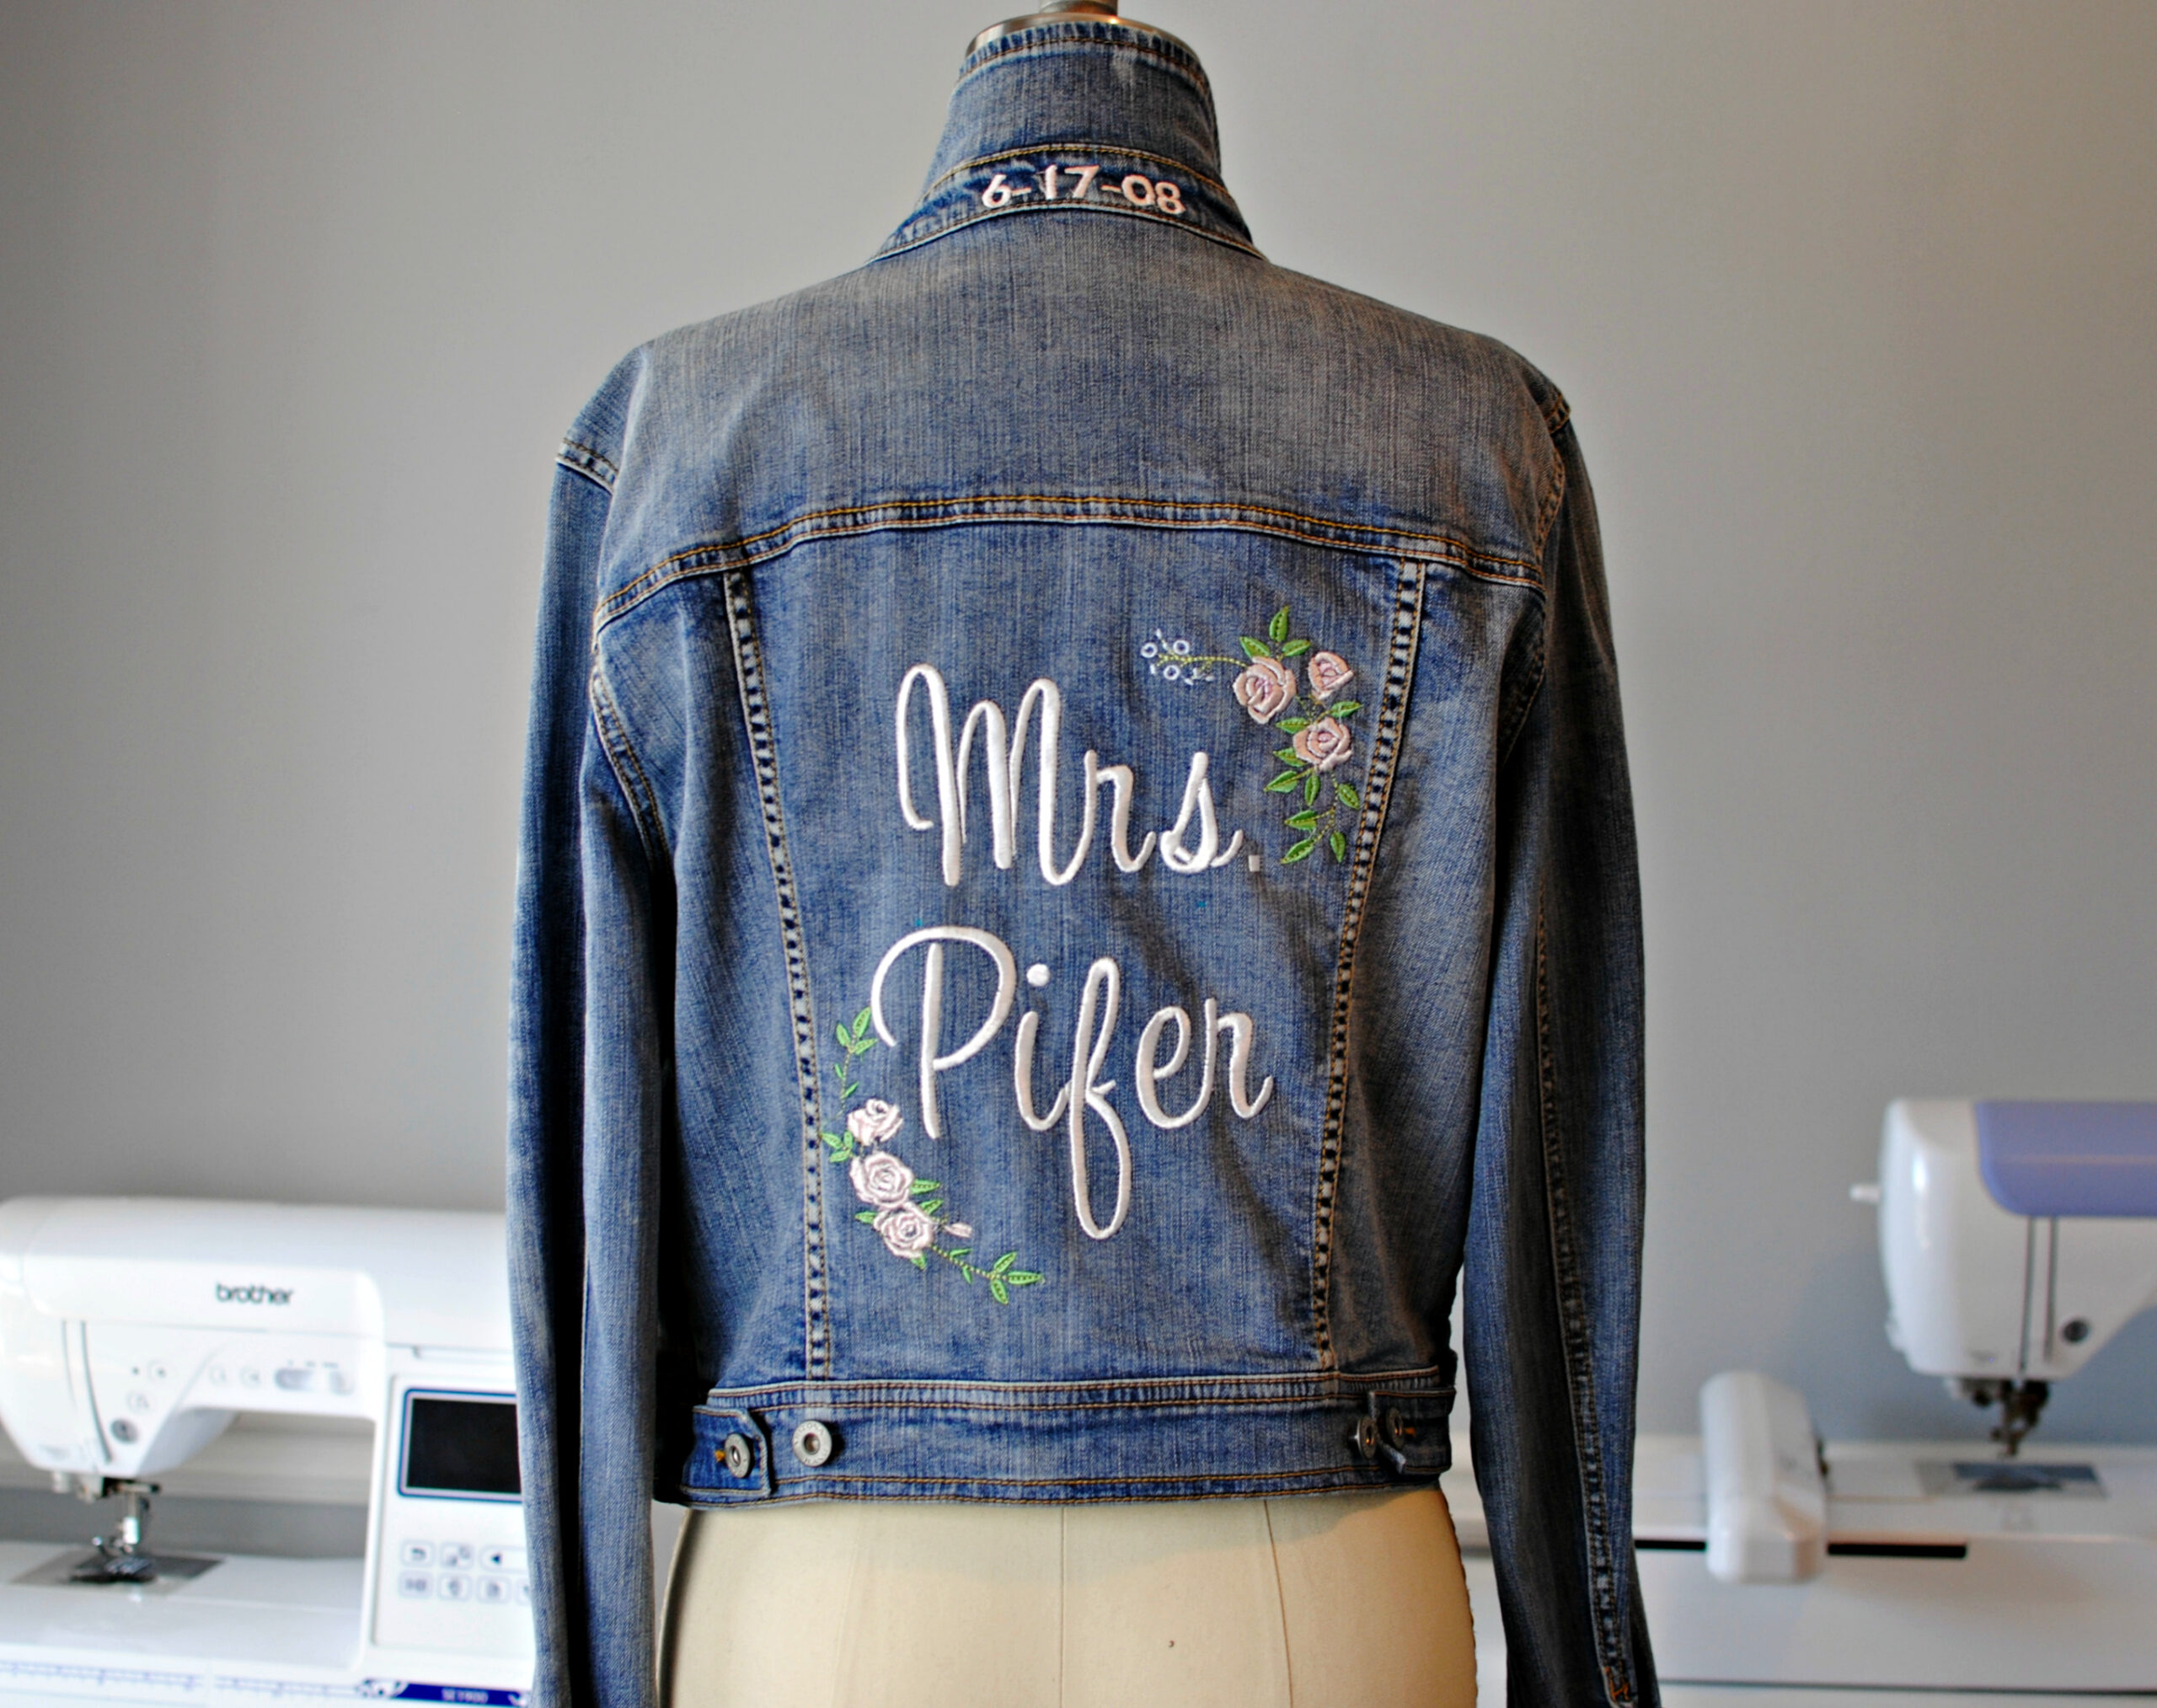
One of my favorite things about machine embroidery is the ability to customize gifts and projects. It’s a fun way to add color and personal design to garments like a jean jacket. Denim is an ideal fabric to embroider on because the medium to heavyweight woven material does well with dense designs.
With embroidered denim on-trend, I wanted to share a tutorial on how to machine embroider on a jacket. Make these embroidered denim jackets for an upcoming wedding present for the bride (great for wedding photos), or gifts for the bridal party. Personalized bridal jackets add a unique flair to any type of wedding, even destination weddings. A chill in the air at night? Adds the perfect accessory that you can continue enjoying long beyond the reception. There are so many ideas and ways to customize these DIY embroidered jean jackets. Get the details below to make your own!
Supplies:
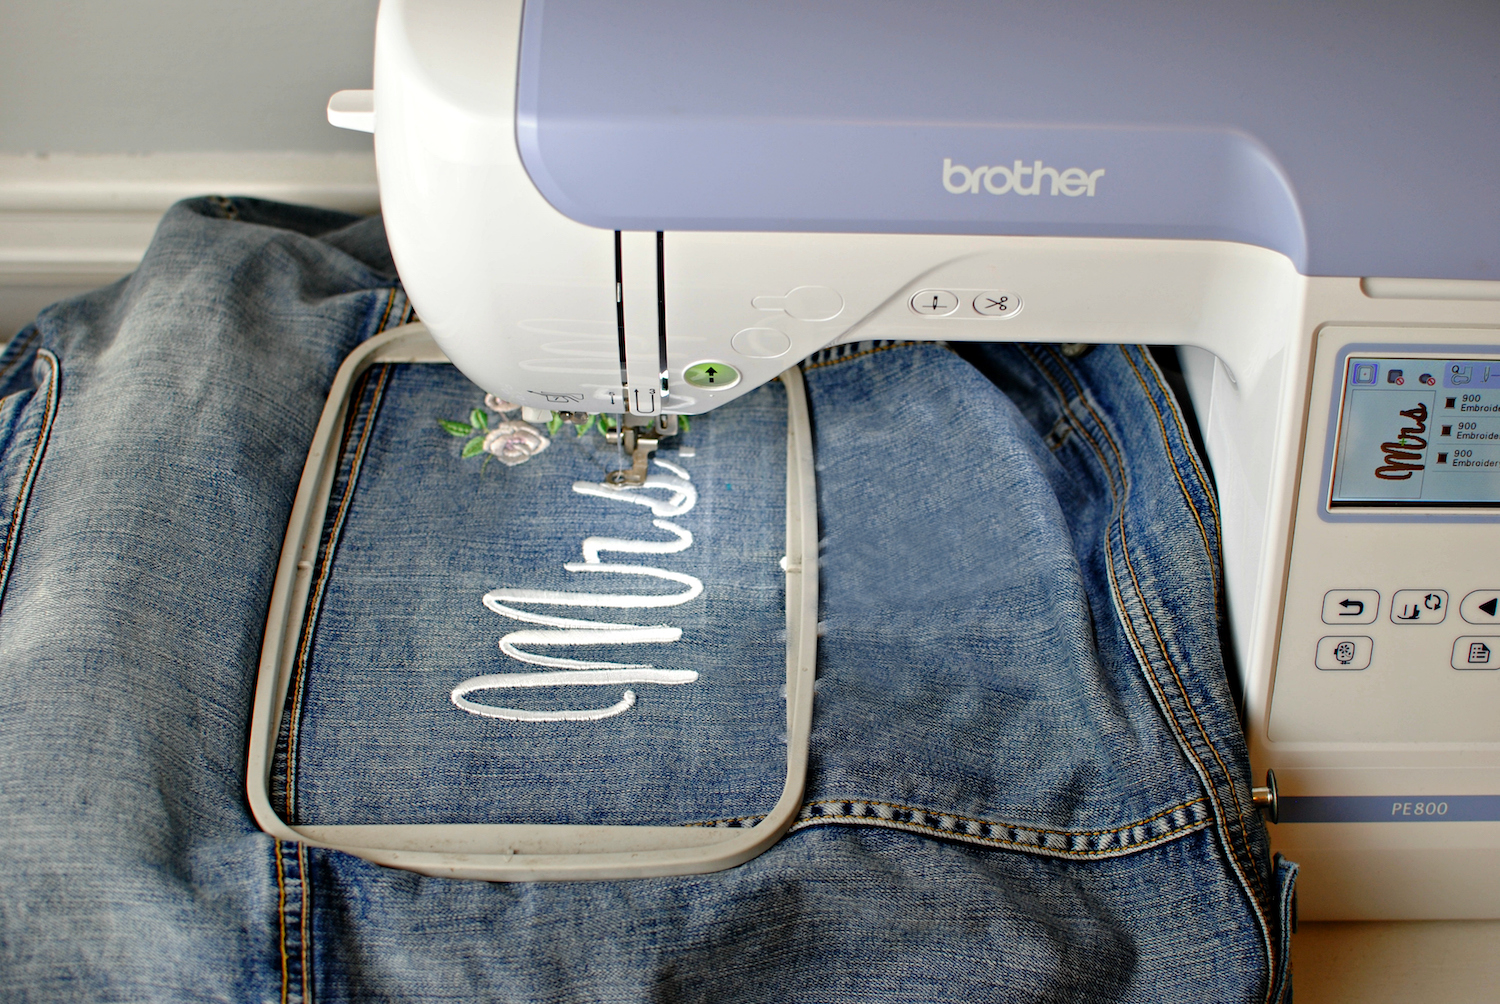
- Brother PE800 Embroidery Machine (also available on Amazon)
- 5” x 7” hoop
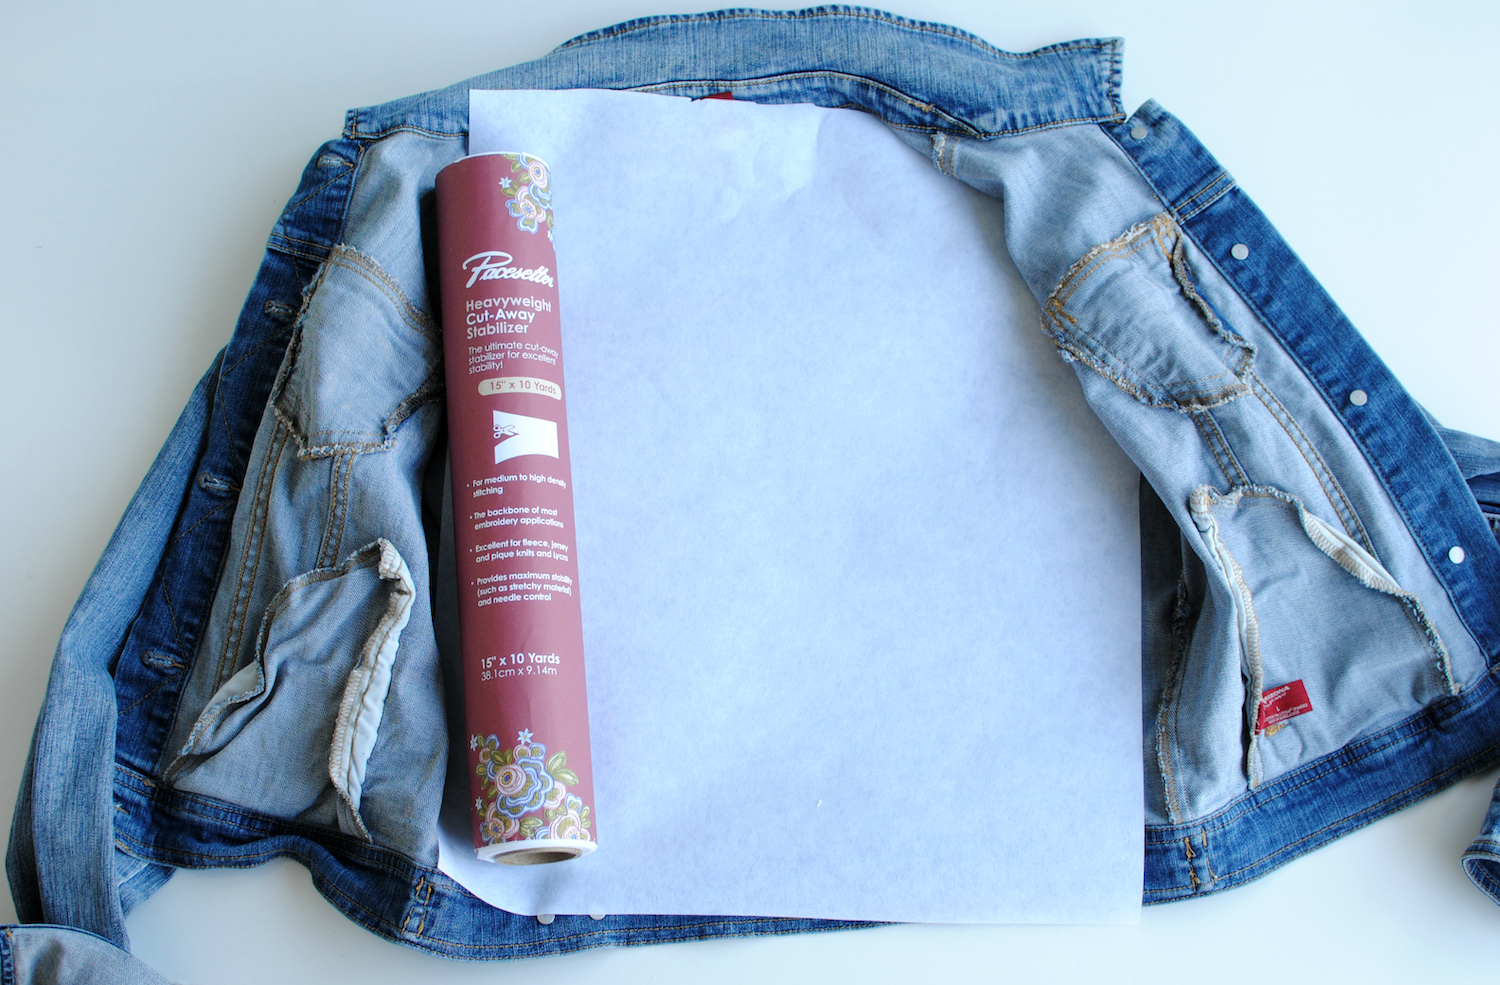
- Pacesetter Heavy Wt. Cut-Away Stabilizer
- Pacesetter Adhesive Tear-Away Stabilizer
- Denim Jacket (avoid stretchy denim)
- Embroidery Font Design
- Embroidery designs for border (rose corner, etc).
Embroidery tip:
Use bold and dense embroidery designs and fonts so you get dramatic results on the denim jacket. If you have a smaller hoop area, you can do the letter or words individually as I did. I like to begin by making a sample of the lettering and design I want using a similar fabric and stabilizer. It’s important to see how it will look stitched out especially if you’re doing this on a garment. You can use software to create your design and lettering or just piece it together on the Brother Touch Screen. I have the PE800 which makes it easy to add and edit designs right on the screen.
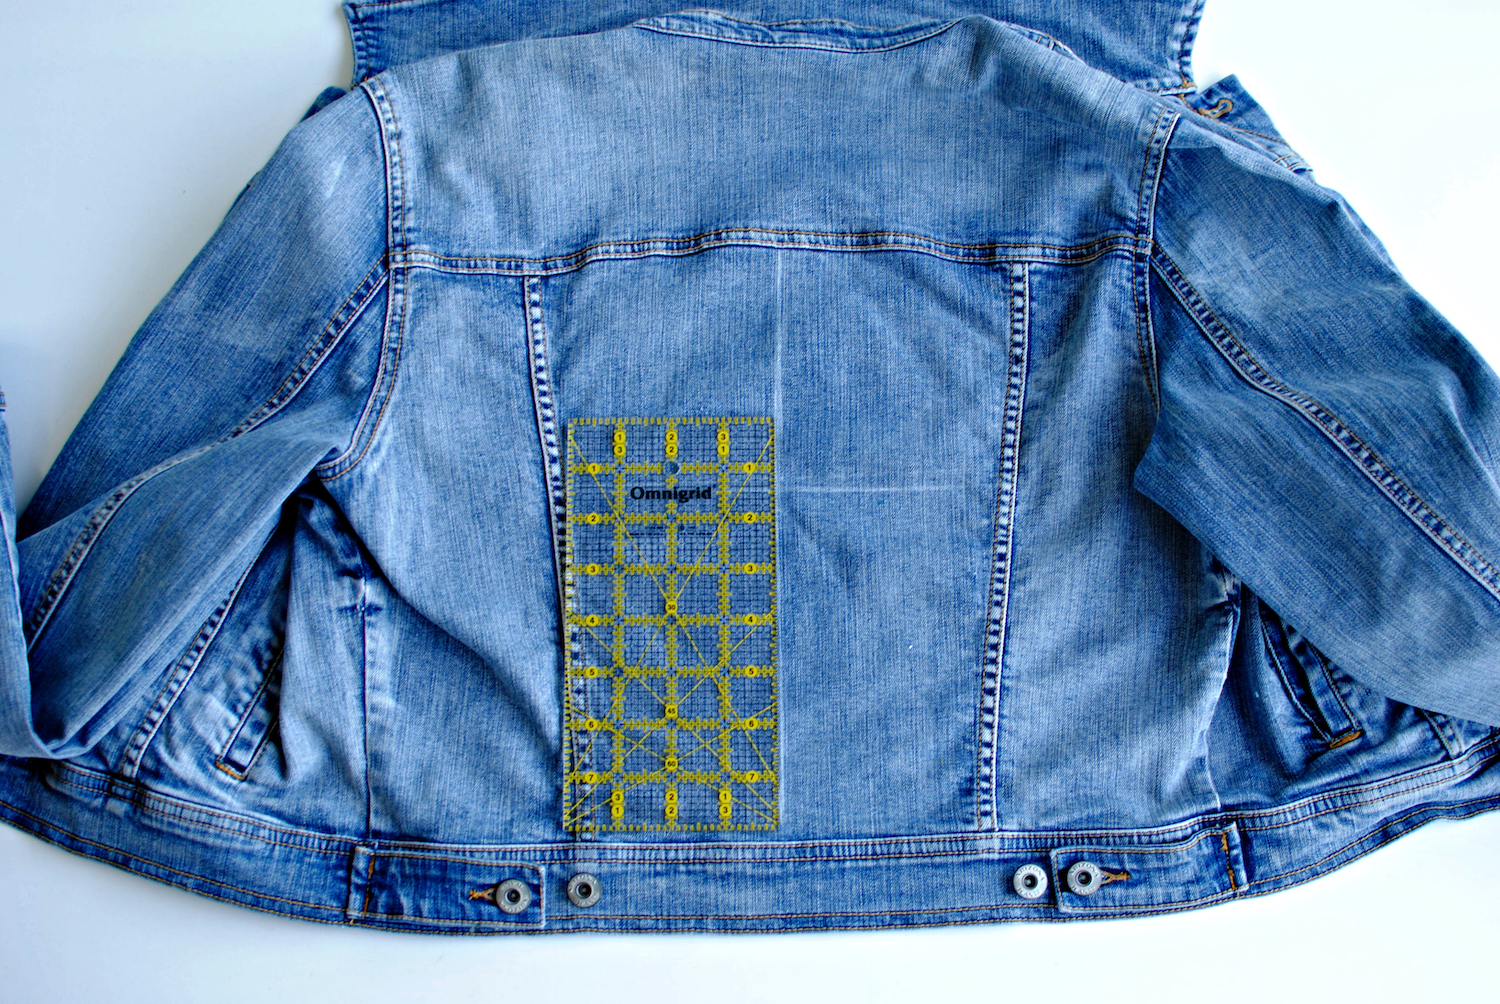
Step 1:
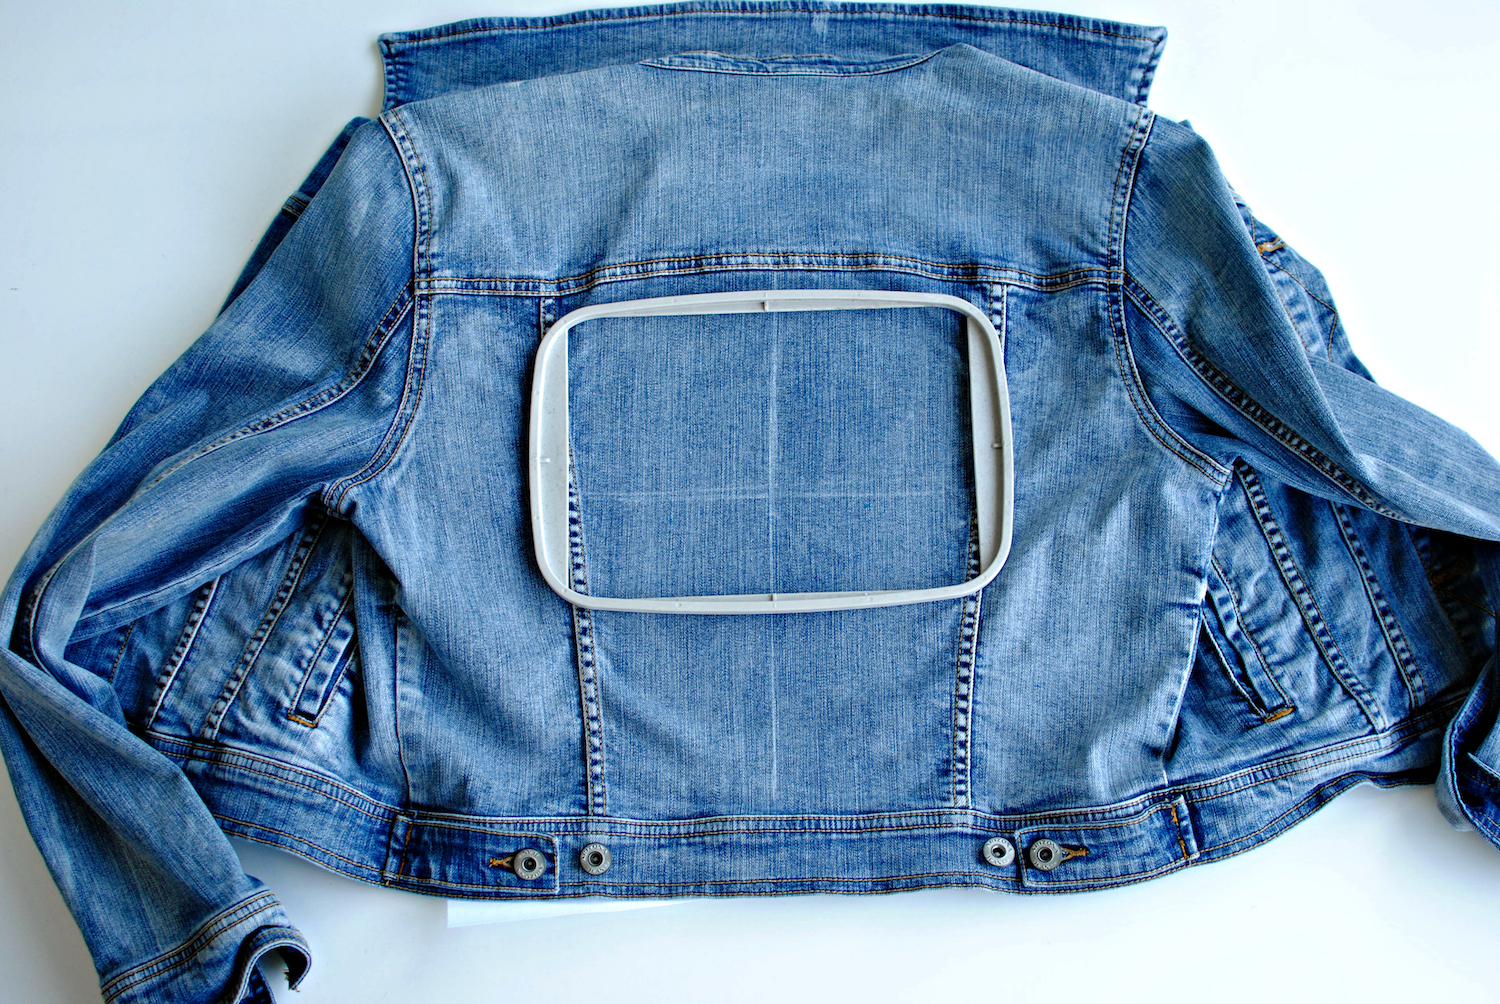
Lay the jacket out flat and press. I am embroidering the back panel. Measure out the center and mark from top to bottom. This is how you will keep the design centered.
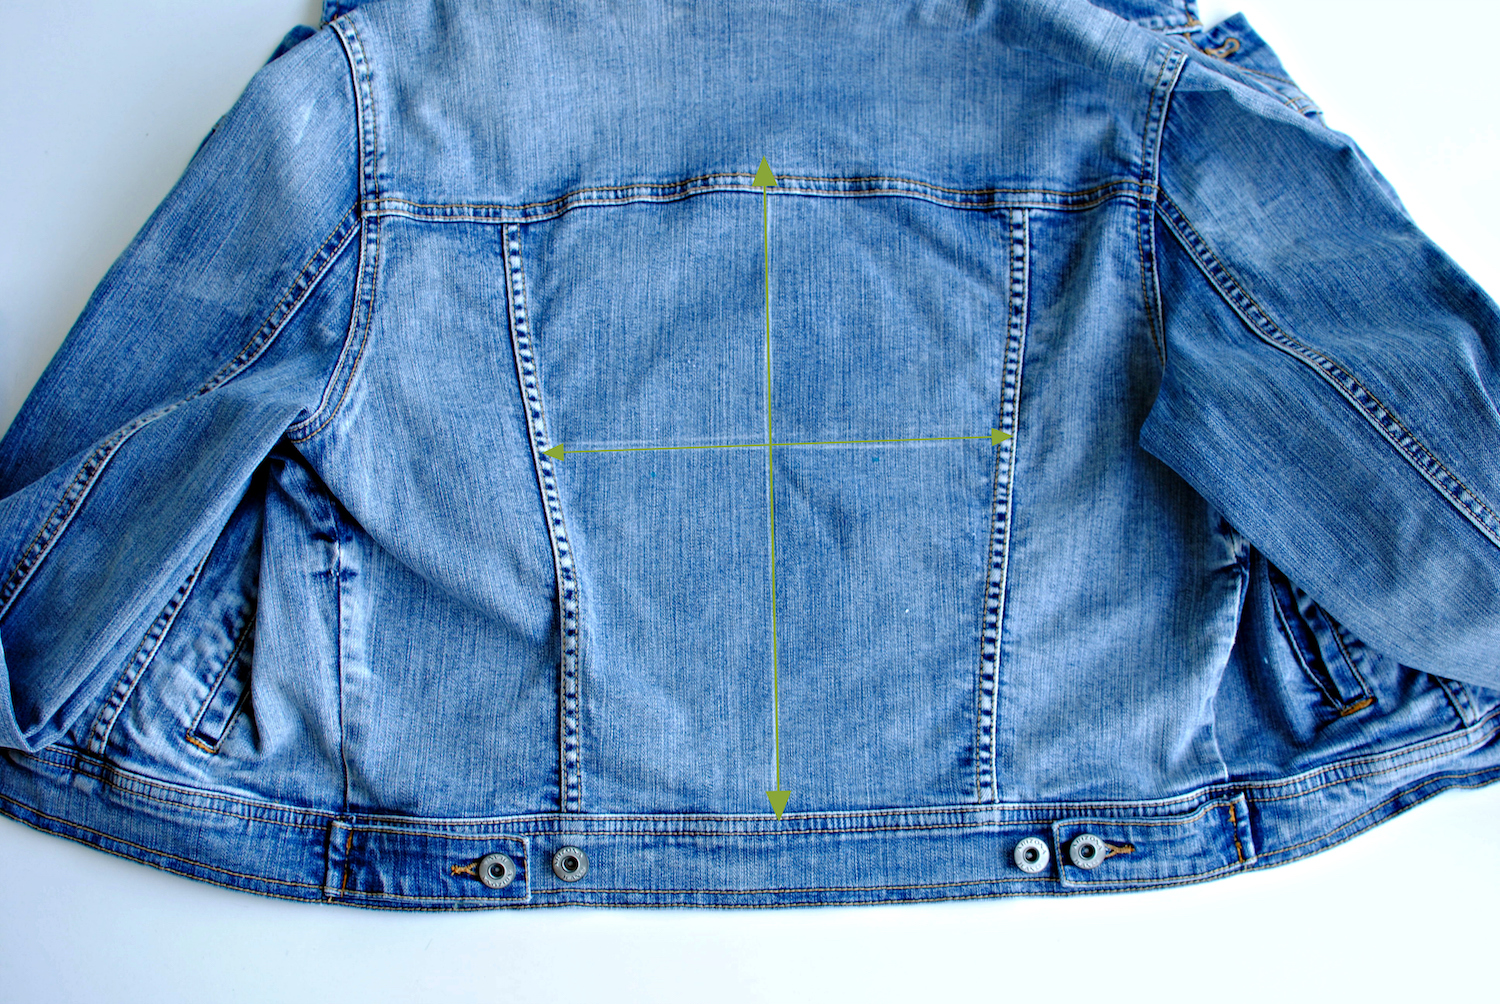
Step 2:
Mark a horizontal line for the location where you want the first word. I mark where I want the bottom of the lettering to be as well. This is where a sample or printed design comes in handy.
Step 3:
Hooping: I’m using a Heavy Cut-Away Stabilizer. You want to cut enough so that you can cover the whole surface area you plan to embroider, plus an additional 1-2” extra. This is ideal if you’re planning to embroider all over like I am. I have a 5” x 7” hoop area, so I will be moving the hoop around for each design. Spray the stabilizer with a temporary spray adhesive and place on the back of the jacket.
Step 4:
Hoop so the center marks align with your center markings and the embroidery design will fit in the embroidery area. Place hoop and jacket in embroidery unit, making sure sleeves and parts of the jacket are out of the way of the hoop area.
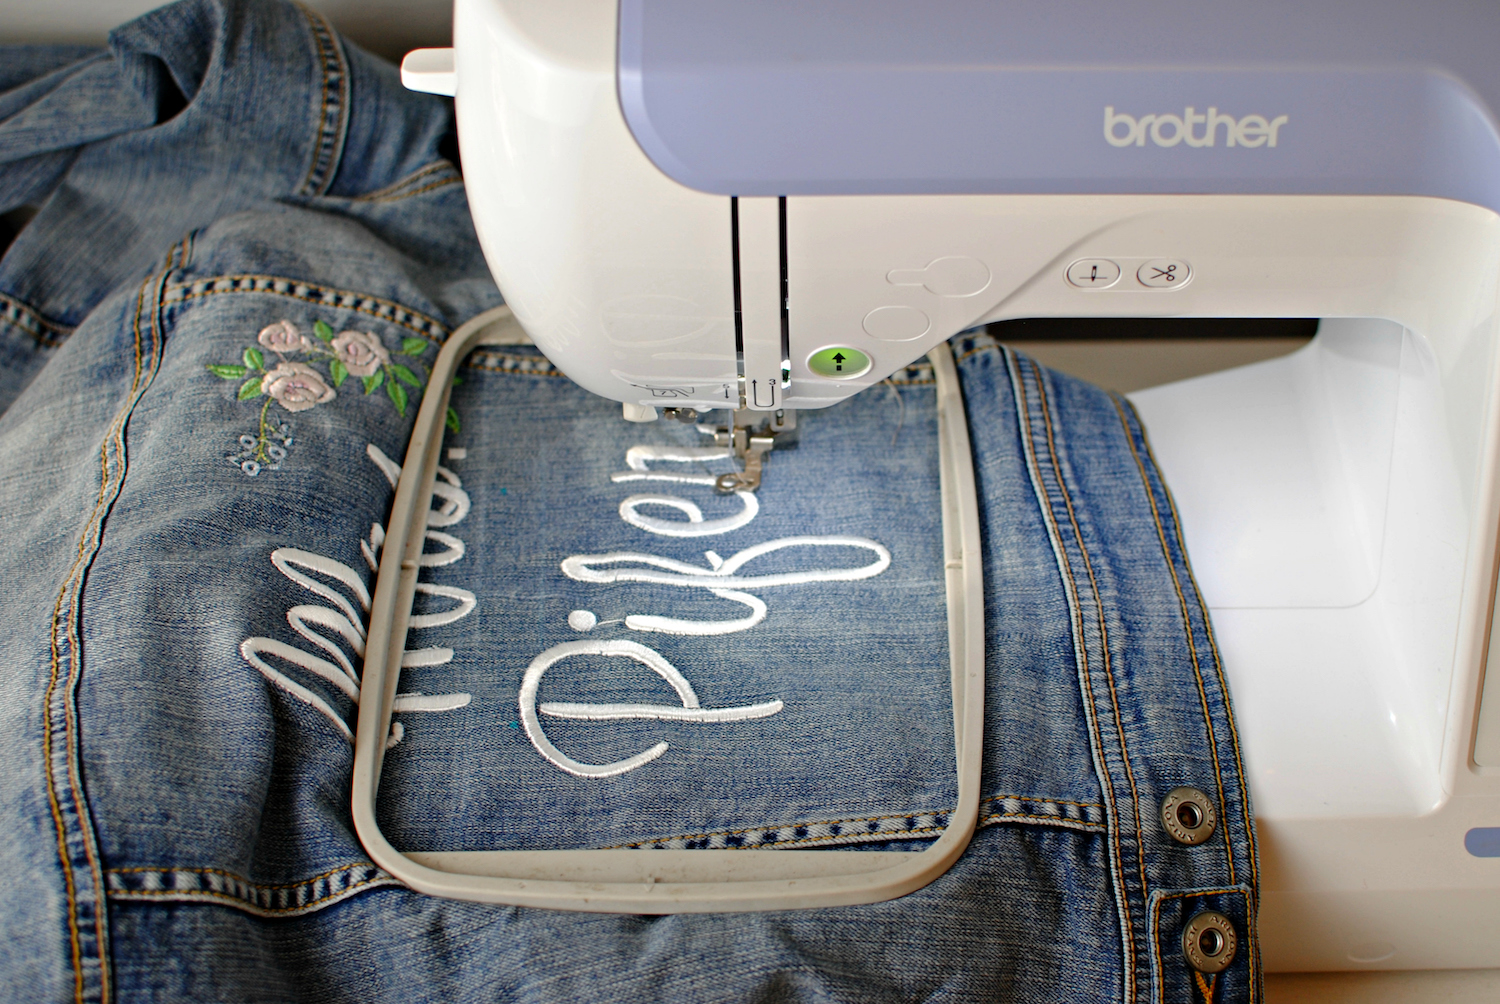
Step 5:
Center the design to your marked location and press embroider!
Step 6:
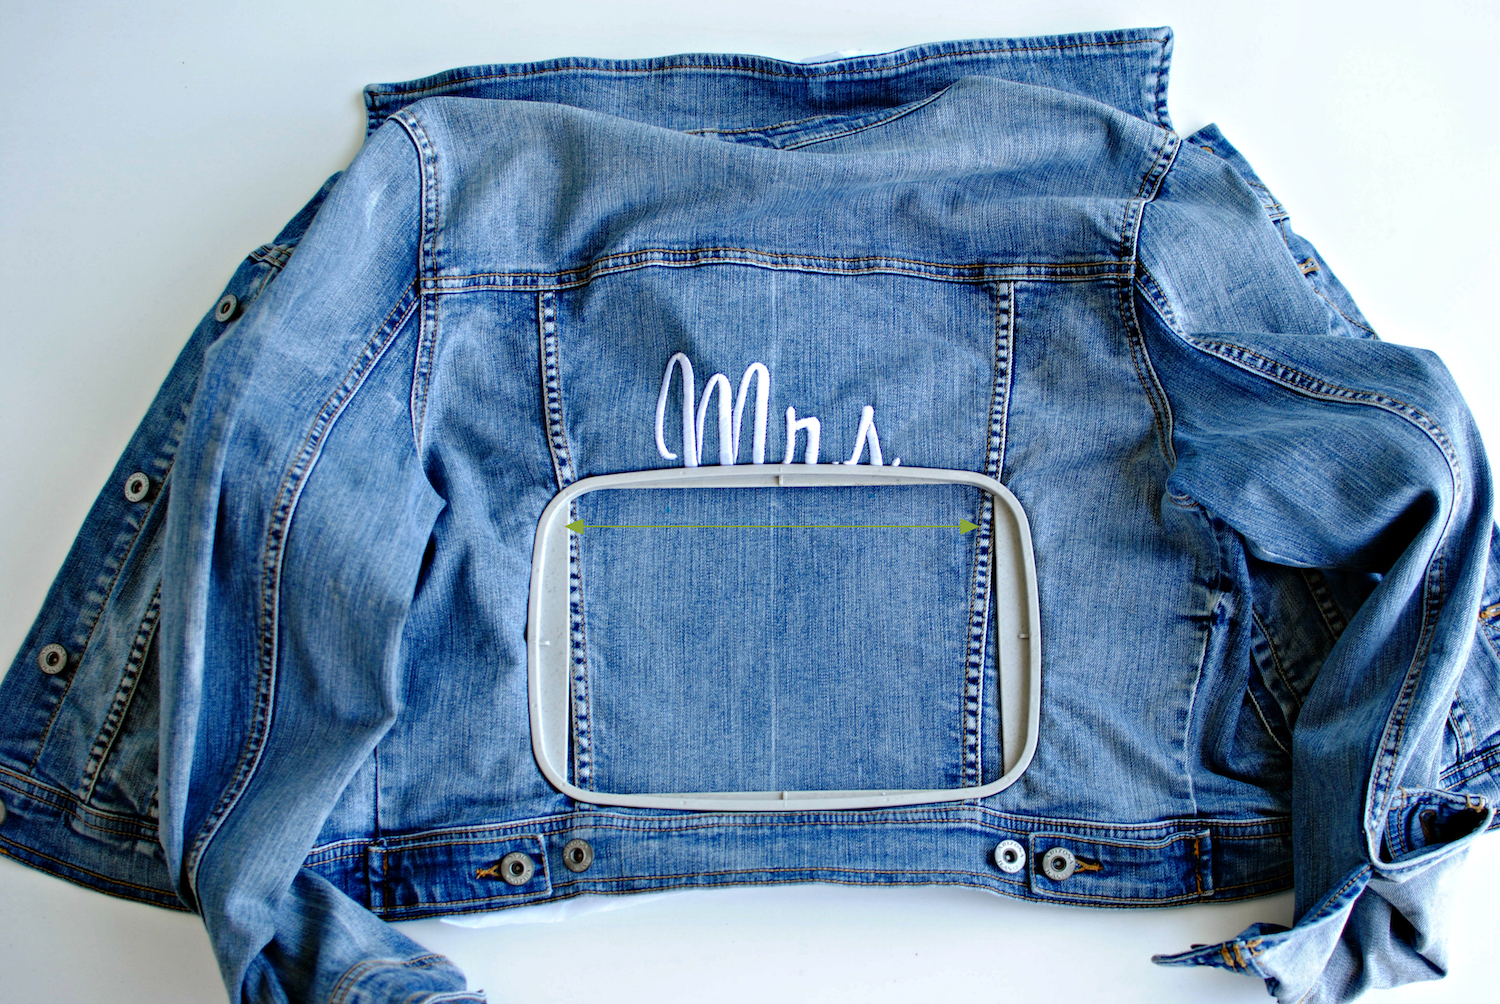
Once the first design is complete, let’s repeat for the bottom lettering. I will have to re-hoop, but I don’t have to cut/add more stabilizer because I have enough on the back. For this one I mark a horizontal line where the top (of the largest letter) of the lettering should hit. I like to space them about 1” apart. You can do less or more – it’s up to you. Because I’m doing an inch, I have to hoop part of the “Mrs”. lettering. You will have to adjust your hoop for this.
Step 7:
Repeat the hooping steps above and embroider.
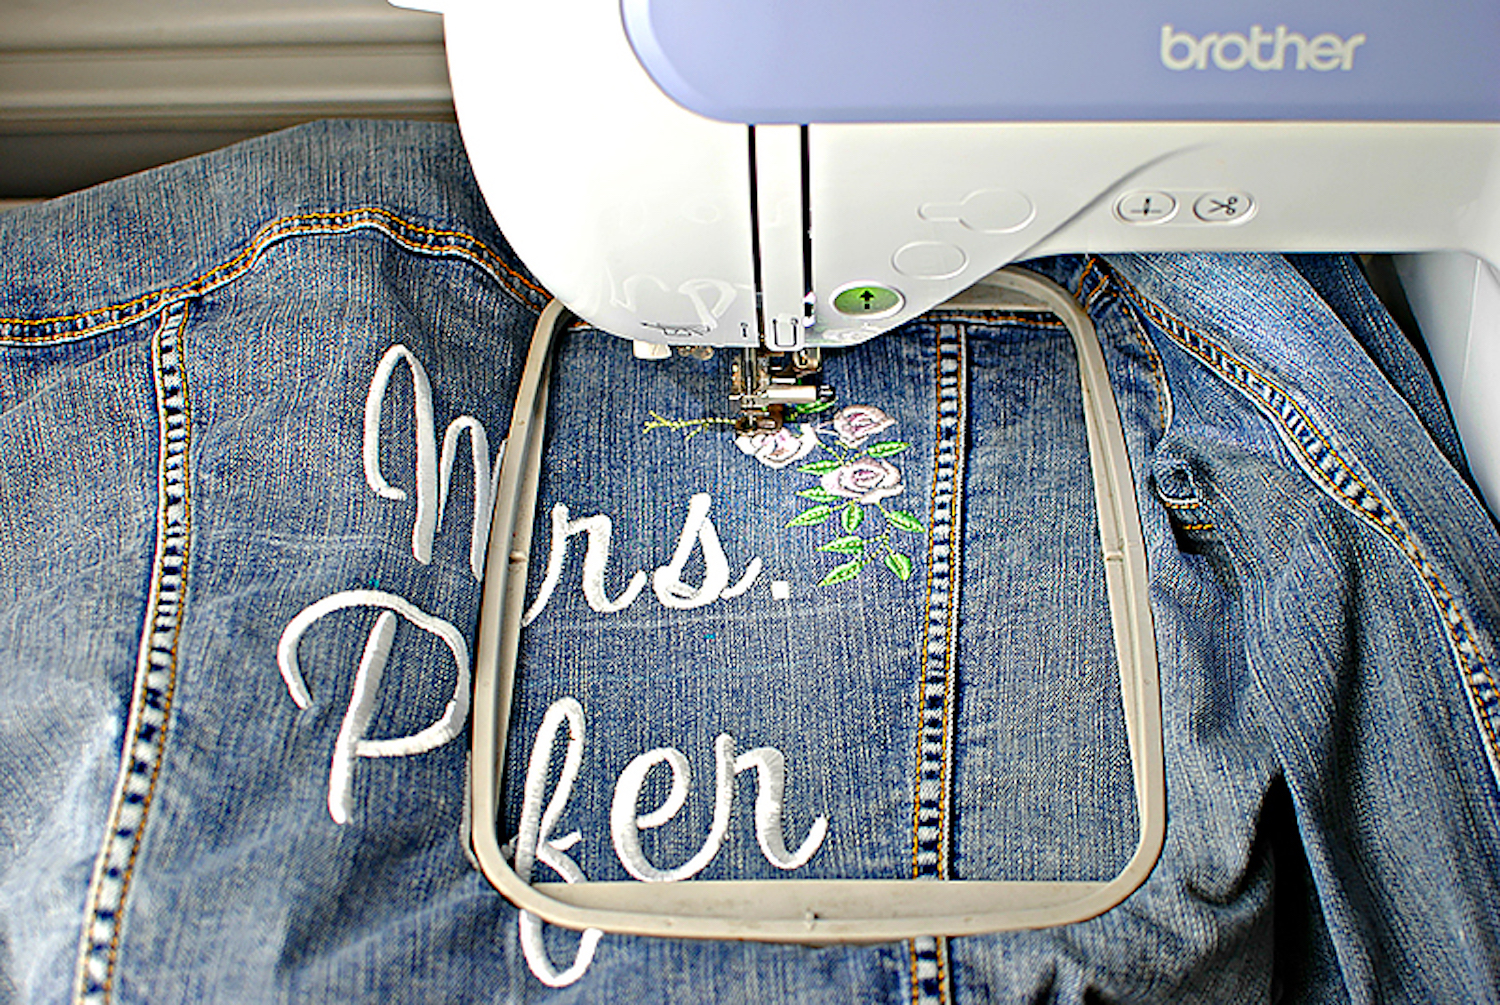
Step 8:
If you want to, add some additional border designs. You can hoop wherever you’d like and add the design.
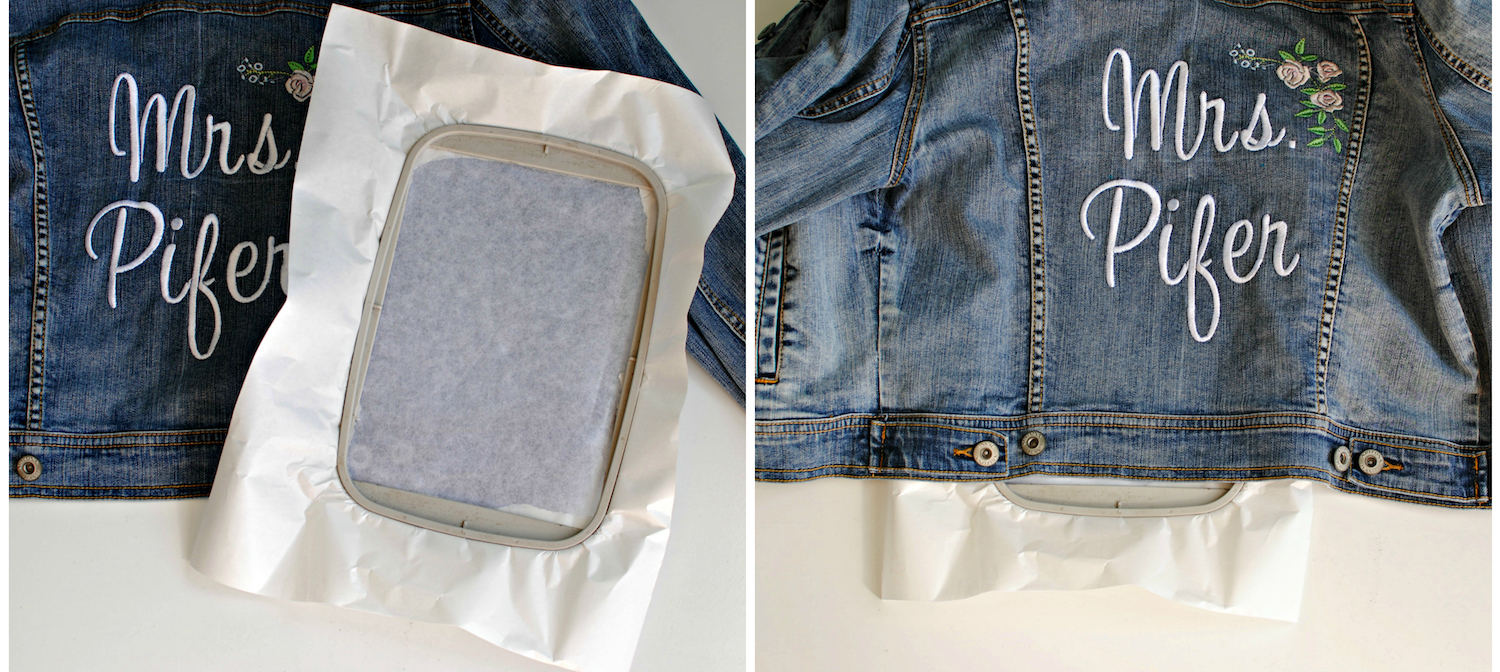
Step 9:
I also like to “float” the jacket and embroidery along edges and collars. Floating is achieved by using some sort of adhesive stabilizer or spray adhesive. I like to use Pacesetters Adhesive Tear-Away Stabilizer. Hoop just the stabilizer and then expose the sticky surface by tearing away the top layer. Place the garment where you want to embroider, directly on top of the hoop. This is ideal for locations that are hard to hoop (collars, hemlines, buttons, large seams, etc). I did this for the bottom rose corner and the date on the back of the collar.

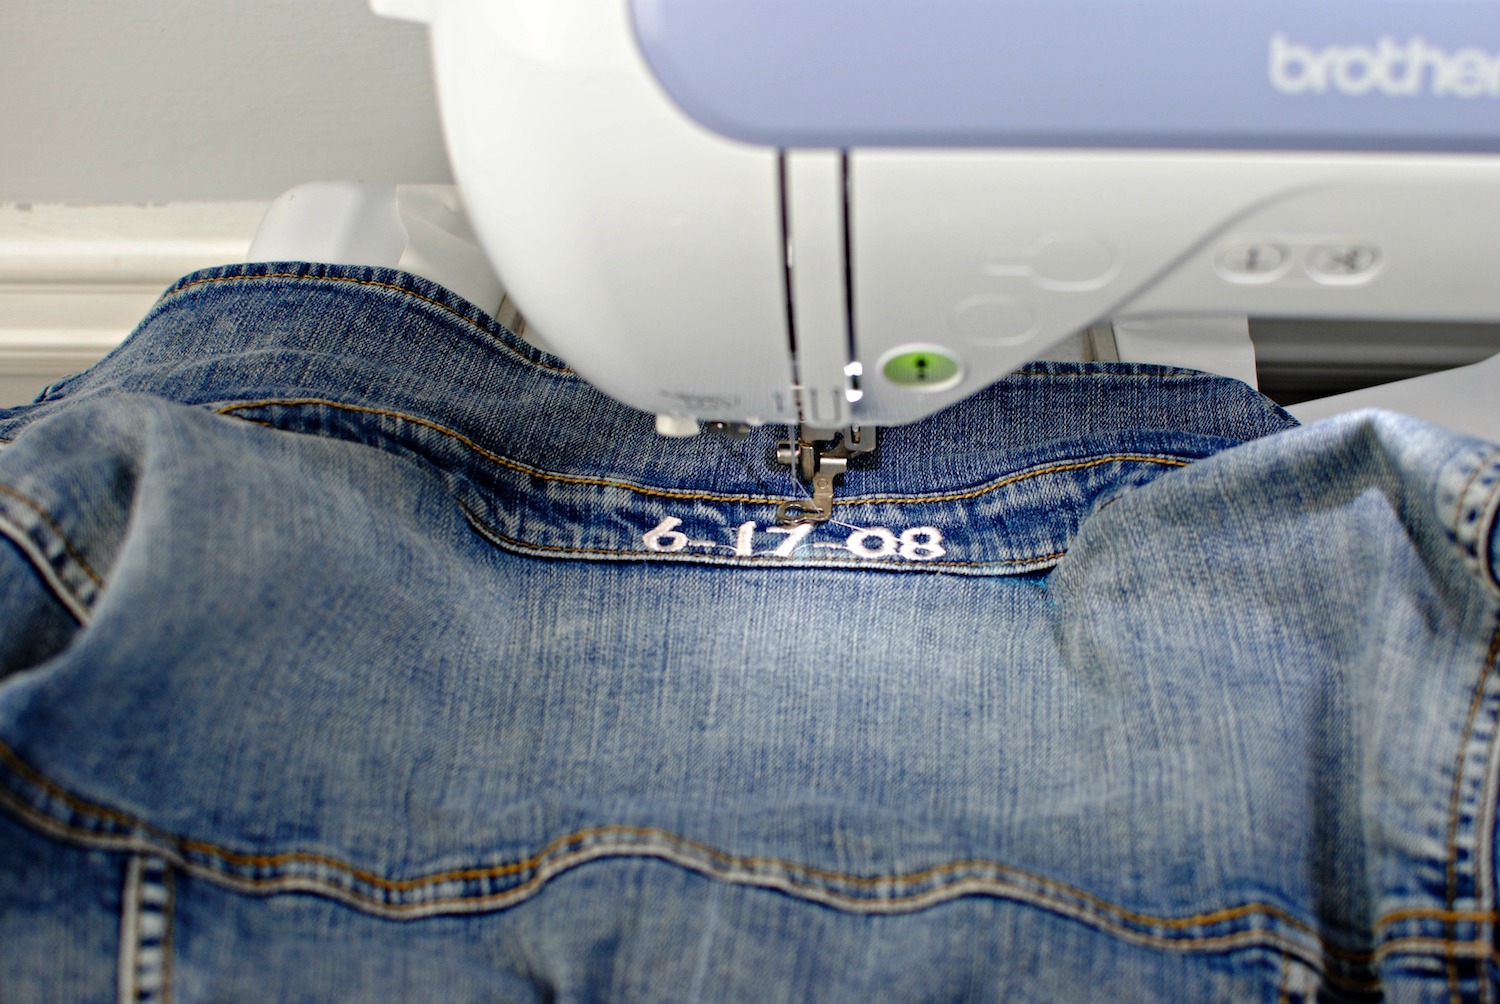
Step 10:
Here is how I did the collar to add the date. You will want to stay by the machine when doing this style of embroidery so it doesn’t move.
About the author:
Laura is a Brother Sewing Ambassador, blogger, and designer of DIY fashion blog Trash to Couture. Trash to Couture was created in 2010 to inspire a less wasteful approach to the mass-produced fashion mainstream through DIY tutorials and repurposed fashions. Laura is also a sewing educator and specializes in designing content for several craft brands and publications, such as Altered Couture and It’s Sew Easy TV.


")